Monday, September 12, 2016

The Fall Spruce Up has begun...

...I know... it is not "officially" fall but I have already started to add some seasonal touches to our home.  I couldn't help it - I just couldn't wait.  One of the areas that I change out seasonally is my shelves in the kitchen...and I say that meaning...only 2 of the 3 shelves change - I just love my blue mason jars...so they stay put regardless of the season.


As you know...these shelves are just to the right of my kitchen sink.  It is an area that I get to enjoy daily (if I wash the dishes that is) ;-).  
 

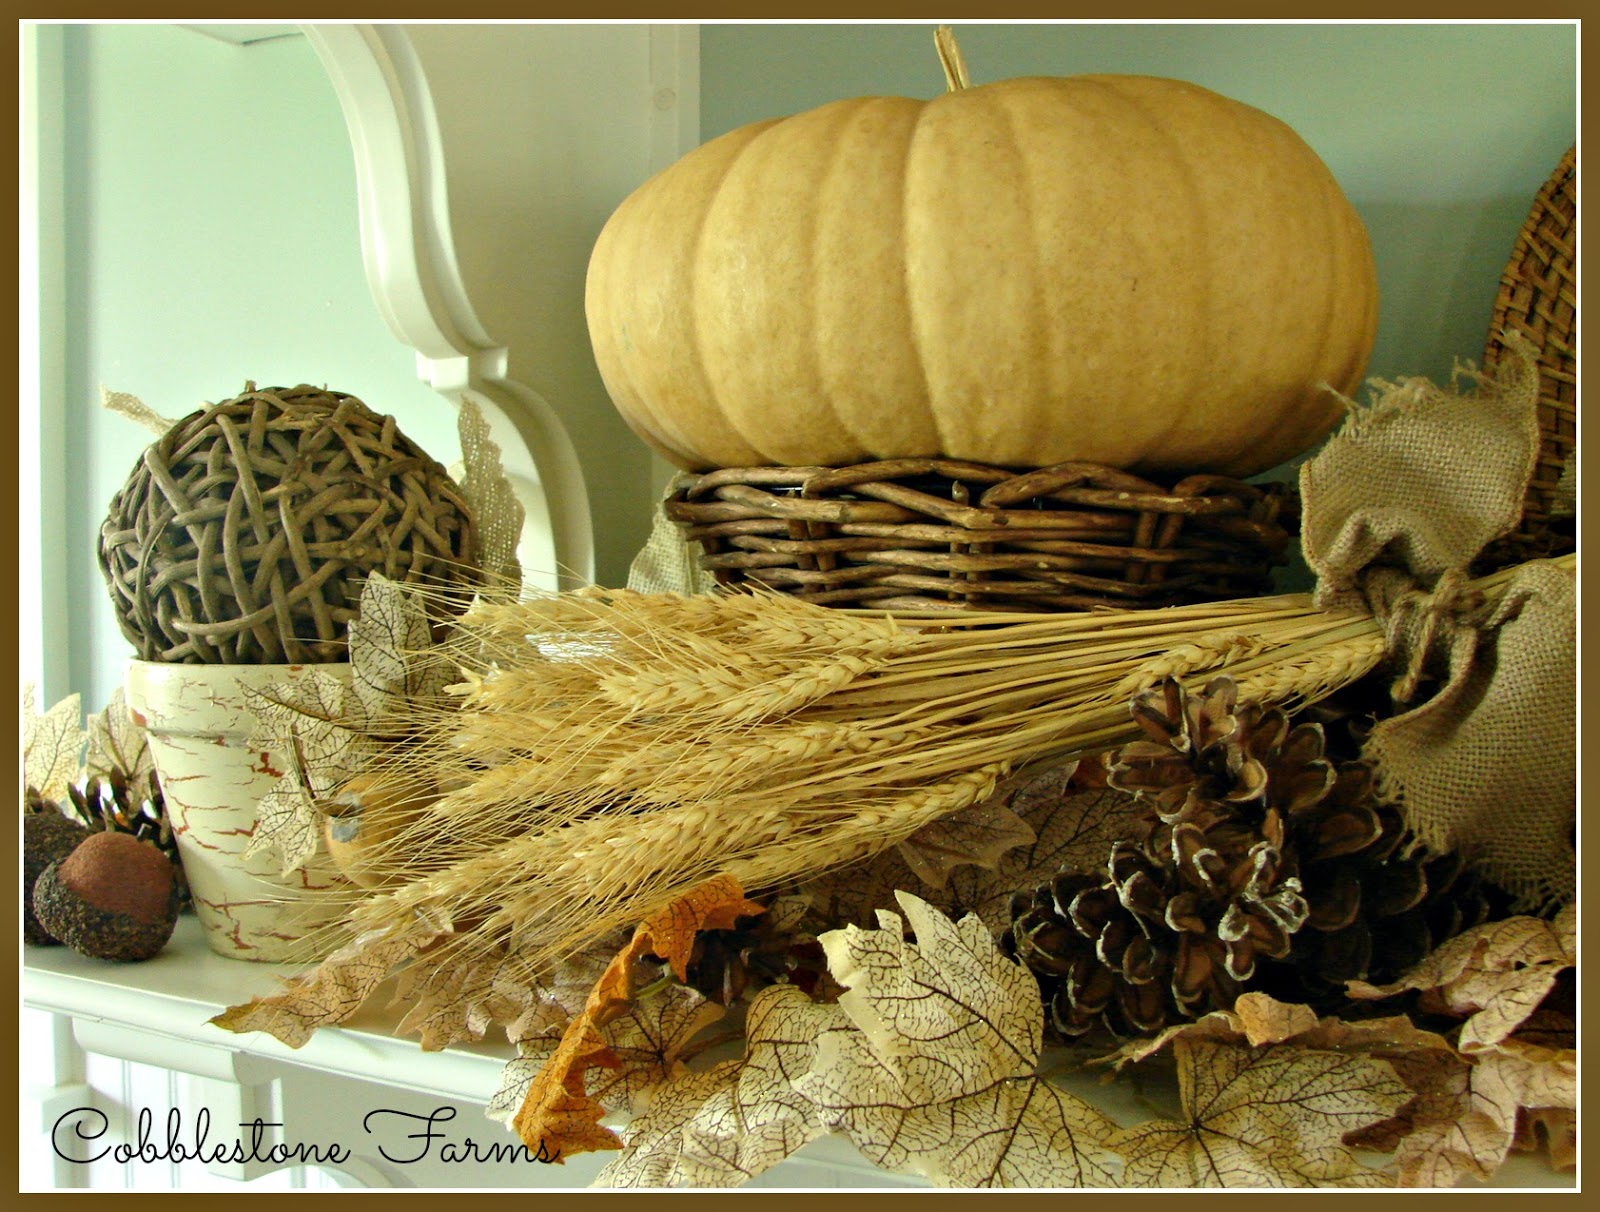
 On the bottom shelf...I simply added things that I already had...some faux acorns, leaves, rattan balls, pine cones and some little distressed pots for some height difference.


 There is also a Long Island Cheese pumpkin raised up on a wicker basket and an old woven plate that I picked up at the mission store... 


 I added some paper mache (I don't think I spelled that right) pumpkins that I lightly white washed to bring out the texture...


 ....I also added in a small bundle of wheat and a few miniature gourds.... 

 ...and up on the top shelf, I placed a "Home" sign that I made when we first moved here.  I just used an old cabinet door and covered the letters in burlap...easy!


 And there you have it...a touch of fall.


I'll be sharing my fall mantles with you soon!

Hope everyone has a wonderful week!

Cathy

Saturday, September 3, 2016

Harvesting Hydrangeas....


Well my friends....it is getting just about time to harvest your hydrangea blooms.  The blooms need to be cut before they get to far along and the changing of the colors of the blooms is a good indicator of the right time to cut.


You can see my Little Limelight hydrangeas just outside the kitchen window below.  They have simply been beautiful this summer.  However, the rain has been weighing the huge blooms down lately and it was just time to give them a good trim. 
 
 
 There is nothing complicated about saving hydrangea blooms....just a few quick and easy steps.  

Step 1.  Cut stems several inches long...

 
 Step 2.  Remove all leaves from stem.  I simply run my hand down the stem and they just slide right off.


 Step 3.  Group 5 to 6 stems together using twine.  Make a loop in the end of the twine for hanging.


 Be sure and not bundle to many stems together.  They need to have good air circulation so they don't mold.


Step 4.  You will need a good place to hang them...preferably somewhere that is relatively cool and dark.  I use our cabin - it is only a couple hundred feet from our house and we have the perfect hangers...deer antlers!


This is Moe.  He even gets his own special pair of earrings.  My husband doesn't like this so much ;-)  But thankfully....he is patient with me.  


 Our cabin just happens to be the perfect place for me to dry my hydrangeas. Consider using your basement, garage or potting shed. 


 These are last years blooms...already dried and ready to be used in fall decorations.  Speaking of fall...


...I believe tomorrow after church....I'm gonna start the fall spruce up.  I'm ready and it is my favorite time of the year so I like to enjoy it as long as possible.  

I hope everyone has a wonderful Labor Day weekend!

Cathy


Monday, August 8, 2016

Mini Home Tour...Thank you Stacey...

Just a quick note to thank all of you who have been stopping by for a visit!  Stacey over at Poofing the Pillows was kind enough to feature our farmhouse in a mini home tour and I so appreciate  it!


I encourage you to visit her lovely blog and take a look around.
Thanks again Stacey!  

Have a wonderful week everyone!

Cathy

Tuesday, July 26, 2016

Fresh Cut and Country Style...


...Flowers that is!  

Now taking fresh cut flower orders!  I've been growing flowers for years - nearly 20 actually.  Nothing fancy...just the old time favorites that everyone loves.


They are simply lined up in rows near the garden...


My favorite color zinnia - Oriole


 All types of sunflowers...


There is also hydrangea, gomphrena, alternanthera, celosia, asparagus fern, variegated ivy and cosmos to add to the jars.


Grow Flowers - they make you and everyone you share them with...happy!


Hope your summer is going great! 

Cathy


Thursday, June 30, 2016

I Found the Perfect Rug...update to last post!


Well.....since my last post about adding a touch of blue to my sun room...I happened upon the perfect rug.  Don't get me wrong....I love color....but I do have a hard time committing on bigger pieces.  The reason is I like to change quite a bit and well, honestly...rugs are expensive.  So when I invest in one I've got to love it and then it has to be "neutral enough" for me to use with lots of different things and colors.

So a couple of weeks back I was out on the road and stopped in a Tuesday Morning store and there it was - I loved the blue color and the pattern plus I thought it would go with about any color I'd pair with it in the future.  So....I bought it and I'm really happy with it!


Plus...it was really reasonable which made it that much better!

Happy 4th of July weekend Friends!

Cathy
Monday, May 2, 2016

A Touch of the Blues...


No...I'm not sad...not singing the blues or feeling blue BUT I was longing for a little blue in our sun room.  

With all the beautiful cobalt blue floating around, I wanted to add a touch to our house.  So for under $50.00 I found all that I needed.


My first purchase was this cobalt blue and white geometric rug I found at the Peddlers Mall...still had the new tag on it.  That was kind of my jumping off point and it only cost $14.00.  I simply layered it over my existing rug.  I always keep the rug in my sun room because the sun has a tendency to fade out our hardwood floors. 
 Next, was a fun ceramic pot I found at our Rite-Aid store for 50% off - cost $7.00!  I had a birds nest fern that needed replanting so it worked out perfect for my plant.


And the last couple of pieces included a denim pillow picked up at Big Lots - $12.00.  I actually got it for someone else who I was helping with their home - BUT - I had to keep it - don't worry...she never missed it ;-)

My blue and white striped storage basket was purchased at Fred's.  Cost was $12.00.  It was perfect to drop my large artificial fern down in.

So that's it...nothing fancy...but it gave me just the pop of color I was looking for!

This is the busiest week of the year for me you know! 

Teacher Appreciation Week, Mother's Day and Derby Day equals overload for this "Flower Lady"!

Have a great week Friends!

Cathy

Wednesday, March 30, 2016

The Making of our "Fixer Upper" inspired Miniature Garden...

 O.K.....let's face it...who isn't inspired by the incredible duo of Fixer Upper, Chip and Joanna Gaines?  Well the answer is....no one.  They, with their amazing talent and joyful spirits, have simply inspired everyone!  I'm not a big TV watcher except for HGTV and of course my favorite show, along with the rest of the country is Fixer Upper! It's my Tuesday night date with the television plus all reruns of course!  

So since I have the wonderful pleasure of working in a greenhouse at Central Farmers Supply... Melissa, my good friend and partner in all things "dirt" decided to create a "Fixer Upper" miniature garden.  Inspired by Chip and Joanna's beautiful farm...we tried to incorporate elements that remind us all of a happy, peaceful place that anyone would love to call home.


 We started with an old galvanized wash tub that had the perfect patina for our mini garden (thanks Mrs. E) ...drilled in some holes to help with drainage...


Next, we turned over a pot to take up some space to save on soil plus it makes it not as heavy to move around...

...we added some quality potting mix...

We began to put together items that reminded us of Magnolia Farms...

...This was our "dry run"...

We planted the Pixie Plants in the garden first...our lil' garden only has a total of 6 plants...then we began to add in the Miniature Garden items...

Next we laid out our veggie garden and added the moss around some of the items we had placed...

We placed some plastic down for the walkways - this keeps the rocks from "sinking"...

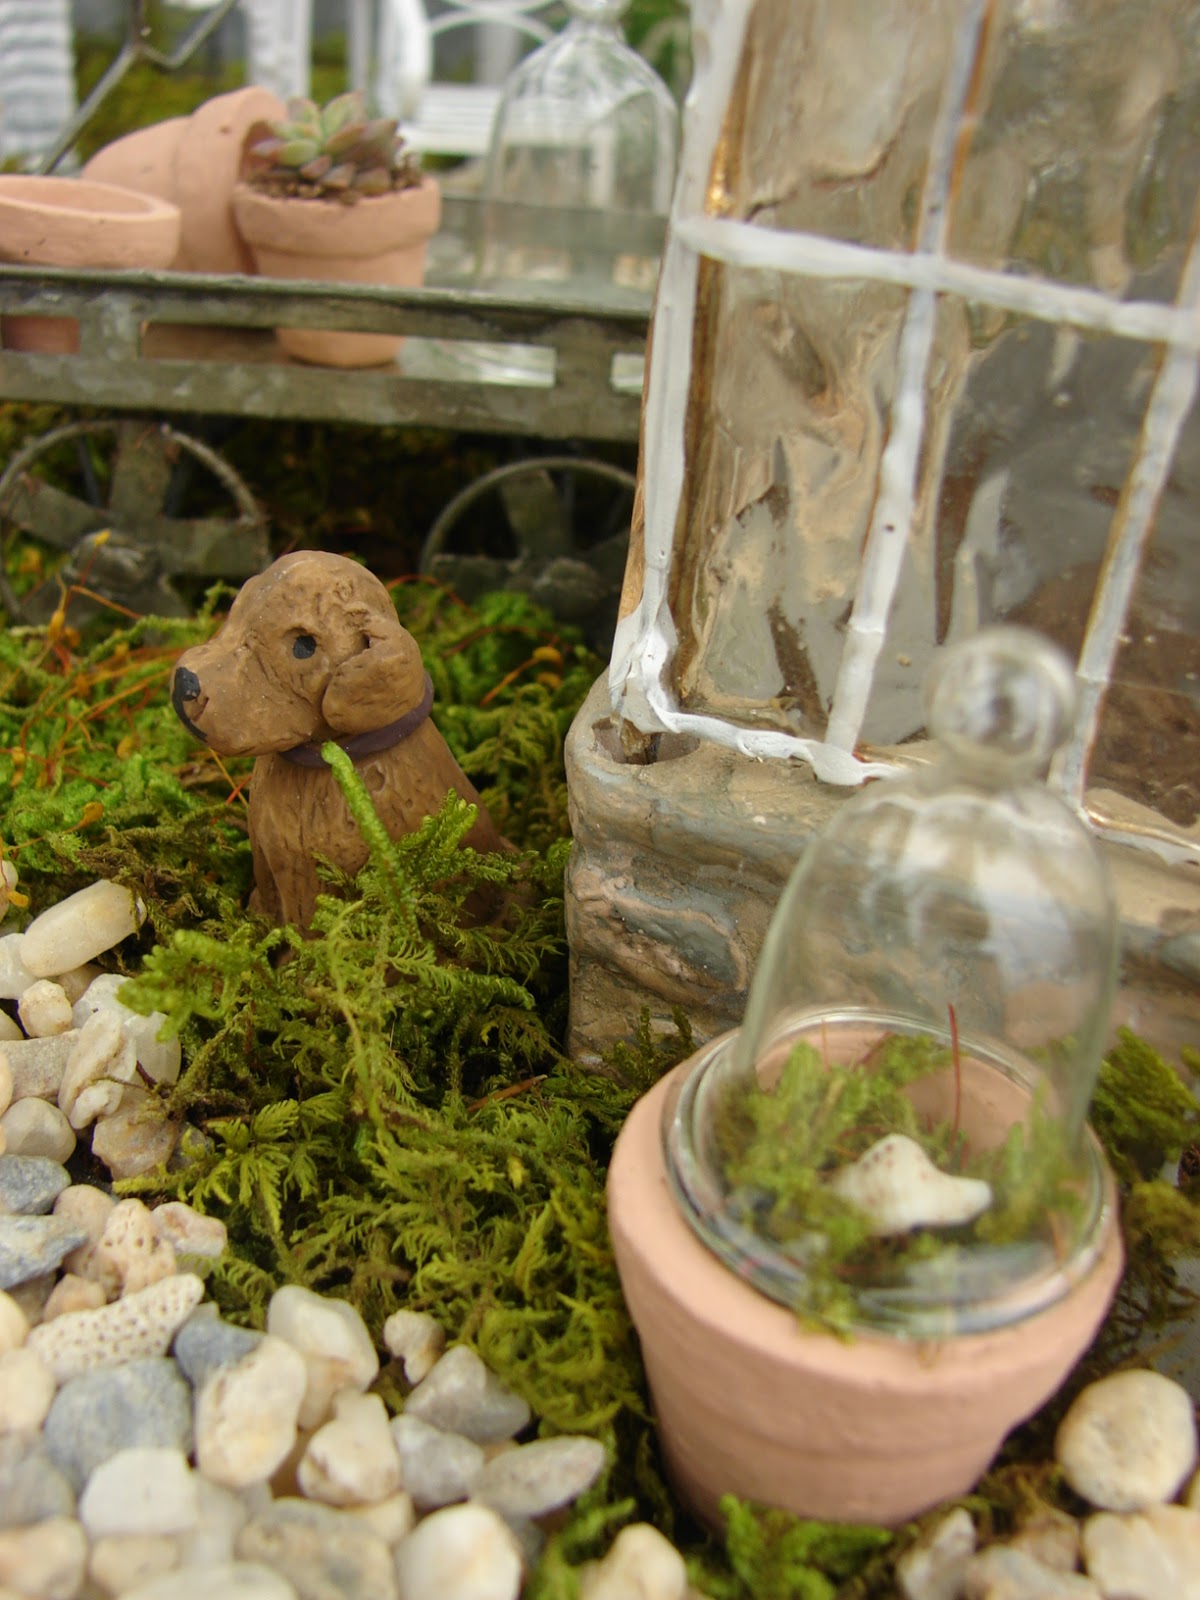
We even planted small succulents in the mini pots...

Of course, we had to have a chicken coop and little rooster placed just to the left of the white farmhouse...

Just like at Magnolia Farms...a white arbor and chandelier - only thing missing from this is a farmhouse table and benches...we will have to work on that...

A cute little dog guards the mini greenhouse - now, if we could only grow Joanna's favorite pink roses in there...we'd be doing really good!


...Flower pots by the front door...

And their it is...even with its own windmill..


...Our Fixer Upper inspired miniature garden...we just love how it turned out...and the best part of it is...we get to share it with our customers each day and have lots of great conversations about how that show has made such a positive impression on so many people!

 So thank you Chip and Joanna....for sharing your talents, your family, your laughter and your beautiful home and farm with us all!  May God continue to bless you and your endeavors!  Looking forward to Season 4!

Cathy