
Hello Friends....sorry I haven't been around but it is spring time and you know what that means for me...it is GREENHOUSE Growing and BASEBALL Throwing time. Working everyday and loving my work and spending all my spare time watching my sweet young man play ball.
But I do have a special little project to share with you today. Now, I can't take credit for this...I saw a picture of this a couple of years ago but we decided to make some this year at the greenhouse. We have had a tremendous response to them and the best thing is....no profit is being taken from the sale of these pots...all money is being distributed through Random Acts of Kindness. God gave us the greatest gift and Jesus paid the ultimate price....but He arose and He is Alive and it is the Easter season and I am so thankful.
This is a wonderful project to do with your children or grandchildren, Sunday School class or make one for your Easter table setting. All you need is about a week of growing time so there is still plenty of time to do this for Easter this year. So here we go...

You will need:
*container - any kind will do
*potting soil
*annual Rye grass seed - just a handful - less than $1.00 per pound
*some sticks
*twine
*rocks - small for the pathway
*stone - one appropriately sized for the opening of the tomb
*smaller pots to make tomb

First fill your container with potting soil leaving a couple of inches at the top...

Bury smaller pots in soil placing some of the soil up into the smaller pots to cover up the plastic. Of course you could use a jar or small terra cotta pot. We were recycling ;-)

Next mound soil over top of smaller container packing tightly so that it will stay on...

My friend Melissa was my hand model - thank you!

Next, generously sprinkle rye grass seed over the top and down each side of the tomb. Do not sew grass in front of the tomb.


Now gently cover seed with soil. We used germinating medium but potting soil is fine just be sure and not cover it to thick.


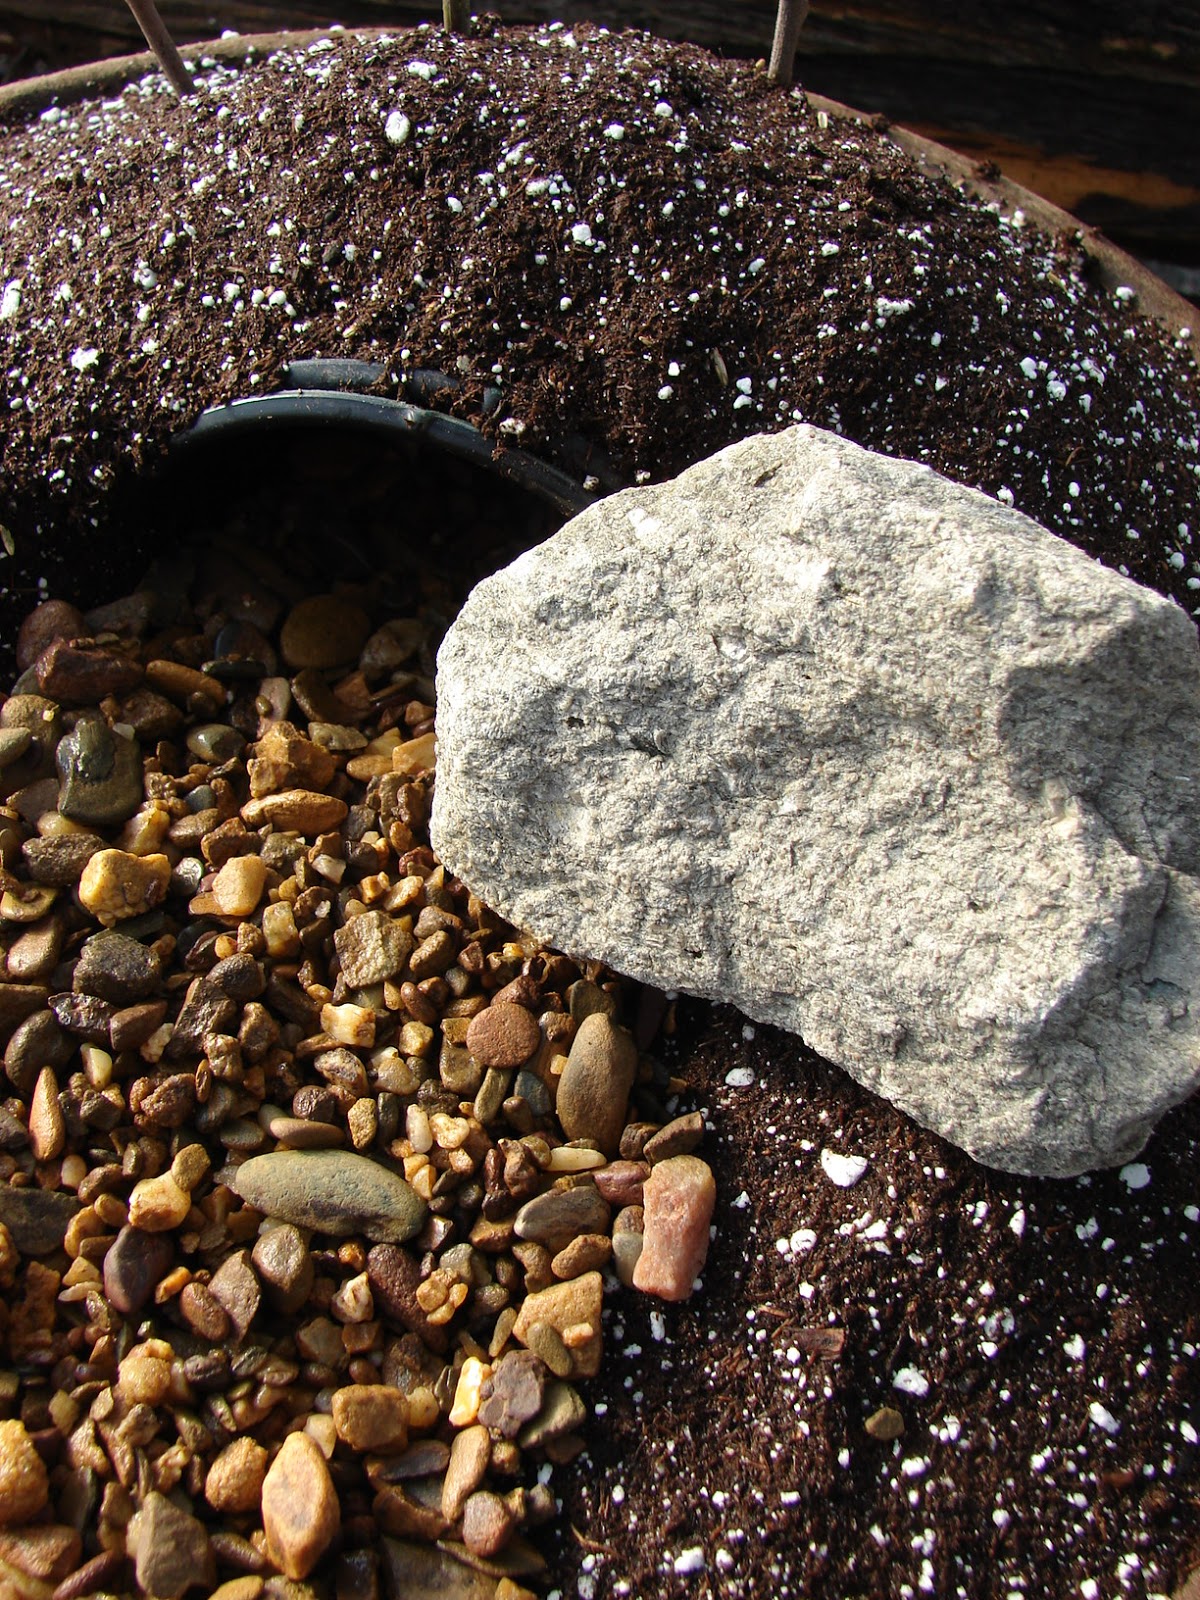
Next, place small rocks all the way to the back of the tomb and to the front of the container...

Now lightly mist soil being careful not to spray to hard as that would displace your soil and seed...

Take your sticks that you have gathered from your yard or near by trees and begin to assemble the crosses...

Using the twine, just criss cross it until the sticks are firmly secure...

Make 3 to place on top of the mound...

Lastly, use a large stone to place to the side of the tomb.
In just about 4-5 days it will look similar to this...it really does grow so quickly if placed in a very bright location or even on a porch under cover...

You will need to trim it about every 3-4 days so that you are still able to see the details of the container...

This project is simple, inexpensive, sweet and so symbolic...

I do hope you have time to try this with your family. It is something I know you will all enjoy!
Happy Easter Friends...
Cathy
5 comments:
What a wonderful, wonderful project, Cathy! I have not seen this done before (yes- I HAVE been under a rock, I guess). This will be a great thing for the grands to make if I can get the stuff together to do it! Love it-thanks- xo Diana
Fantastic !! Absolutely love this ! !!!!
A great way to celebrate Easter!
M : )
This is a beautiful project.. looking so beautiful.. even we can put some little garden fairies ..:)
I'm following you.. will you please follow me back?
Please visit: http://from-a-girls-mind.blogspot.com
Interesting post and a great idea!
Have a lovely weekend, take care....
Titti
Post a Comment